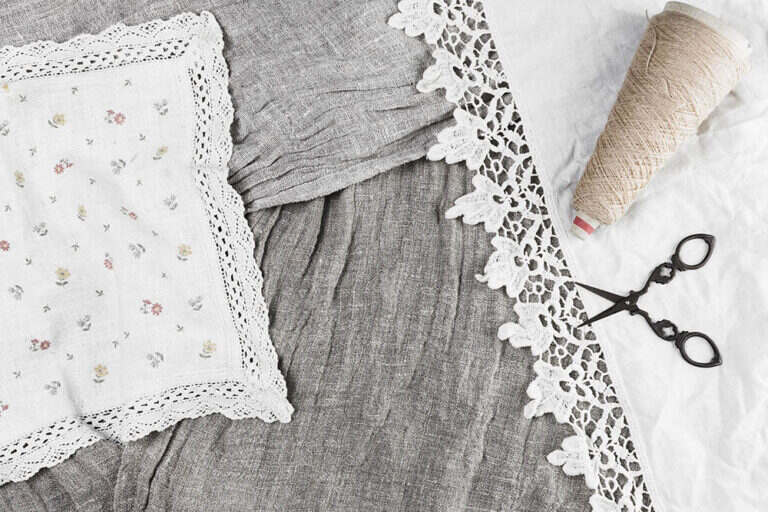
How To Sew Lace On Fabric Like A Pro
Garment design is often referred to as the crown jewel of clothing construction. Whether its a touch of lace on a vintage blouse or the many layers of lace on a wedding gown, lace can elevate the perceived value and texture of any garment instantly. However, as an avid sewer, the thought of sewing with lace sometimes gives me flashbacks to my own personal experiences with frustration: puckered fabric, tangled threads, and a ‘homemade-esque’ finished project!
Not to worry! Sewing lace is not a magical event that you are never going to experience! This guide will take you from preparation through all three of the different basic techniques of sewing lace in the most effective way for you to sew with it like an experienced couture designer.
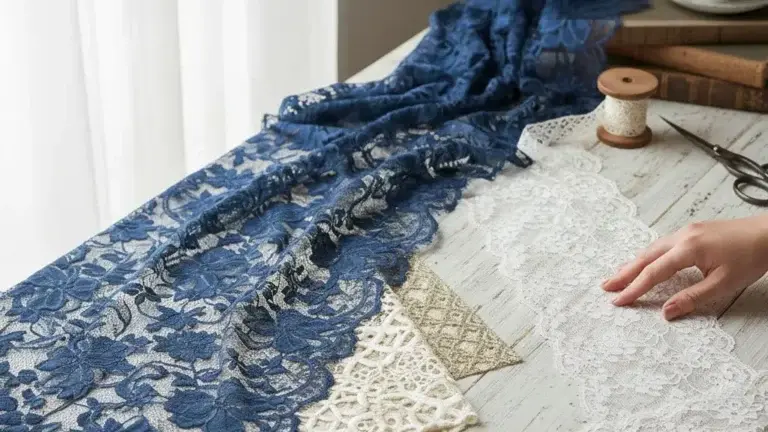
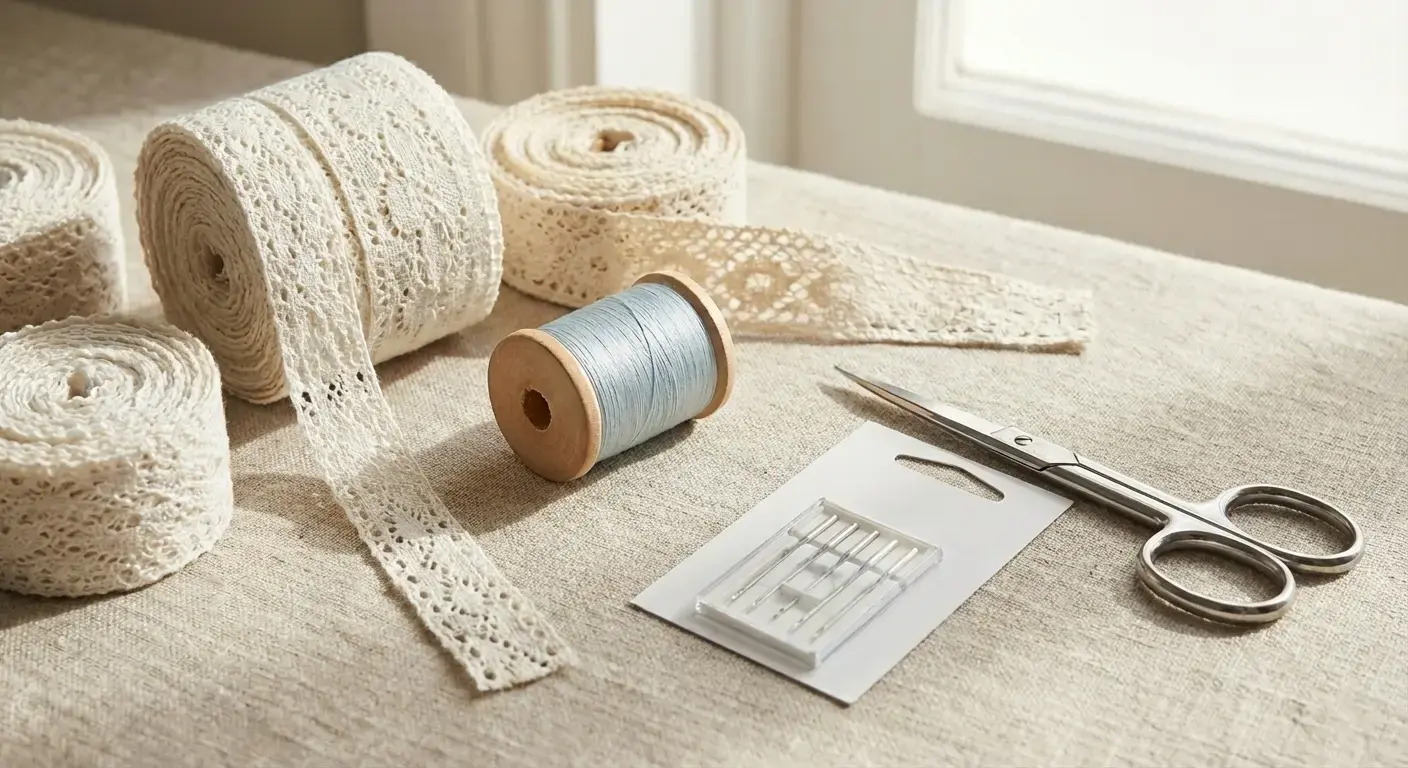
Preparation of Tools
The preparation of sound is 80% of your overall success. In general, a laces mesh means it has a ‘structured’ hold and base fabric (or backing) will be very smooth, where this combination will always produce a ‘conflicting personality.’ For this reason, you need to have:
- A fine, good quality opponent needle (70/10 or 60/8). Do never use a regular universal needle on a lace because you will most likely miss your stitches.
- Use a good quality thread (polyester). A polyester will provide superior strength and stretch; a very fine cotton will be required to give an invisible finish on the very edge of an item.
- Using a stabilizer will help to keep the feed dog away from the lace you sew. When using a stabilizer, applying a layer of water soluble stabiliser/film to the bottom of your lace piece will eliminate the chances of the feed dogs from ‘eating up’ your lace. Once finished sewing, fill a bowl with water and place the stabiliser in to dissolve and leave a beautiful finished product.
- Pre-washing and pre-pressing (this is very important). Before cutting any fabric for your pattern, you must pre-treat both fabrics separately before you begin to sew them because fabric has different shrinkage than fabric and can cause your design/product to warp and pucker after washing.
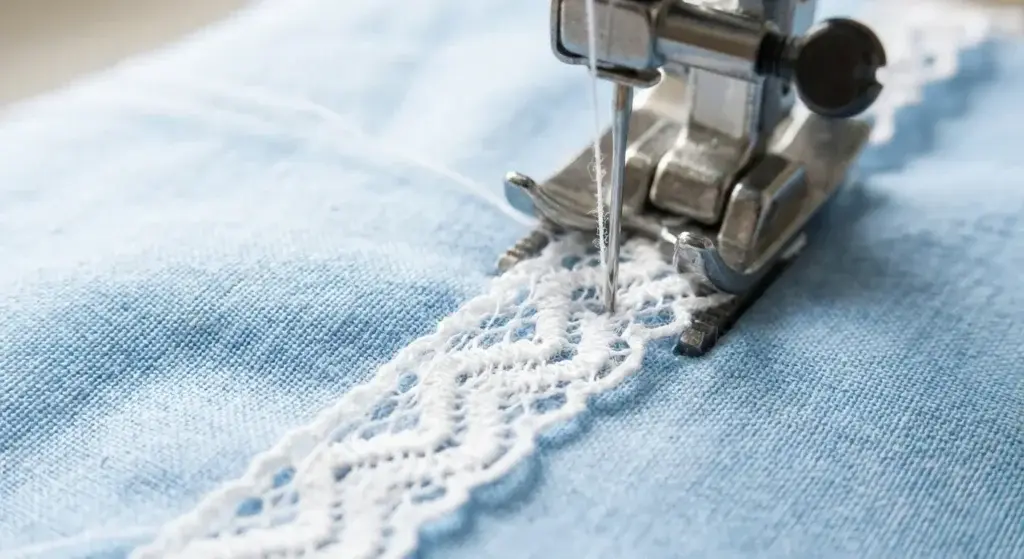
Technique 1: Attach Lace Trim To The Edges
This is the most common technique to finish off cuffs, hems or necklines.
Here’s how:
To do this technique place your lace RST (which means “right sides together”) with your fabric. You should line the raw edge of your fabric with the straight edge of the lace and secure it with fine silk pins (normal pins can leave permanent holes in delicate cottons or silks).
Sew using a straight stitch with a length of about 2.5mm. After you have completedthe sewing, pull the lace outwards so that the seam is hidden on the inside. I’d also suggest giving your project a professional, finished look, by topstitching 1-2mm away from the seam on the lace side of the project (for stability).
Pro Tips: If you’re trying to achieve the look of “couture” attire, try using a French Seam to hide your raw edges. This will leave the inside of your project looking just as good as the outside.
Technique 2: Lace Insertion
The term lace insertion refers to the method of inserting lace into your garment as if it were part of the fabric itself. This is also considered one of the true characteristics of Edwardian and Victorian-style heirloom pieces.
Here’s how:
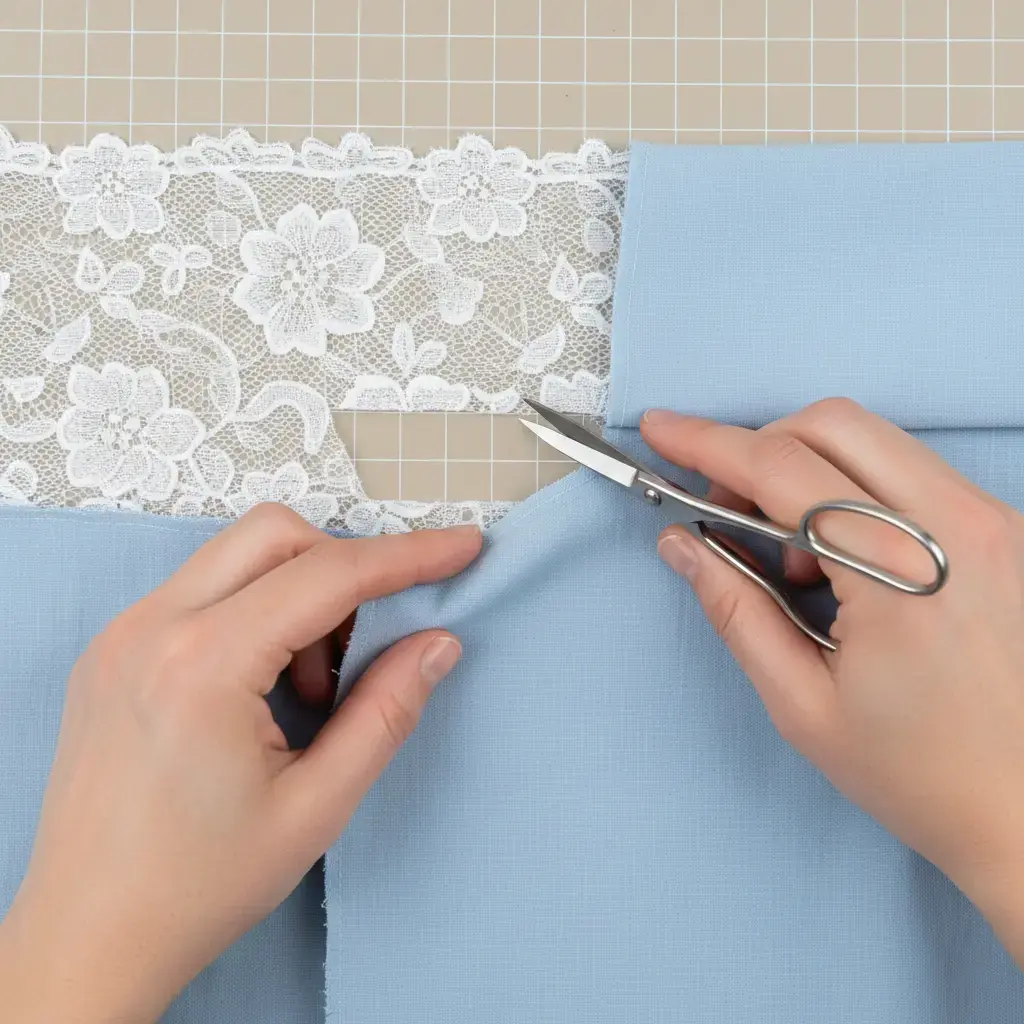
Unlike when edge trimming, the lace will need to be laid out flat on the right side of the fabric before cutting the fabric (don’t cut it yet!). Hold the lace in place with water-soluble glue or pins. Use a narrow zigzag stitch (about 1.5mm – 2.0mm in width) and stitch down both long edges of the lace.
Now comes the scary part: Turn the fabric over to the back side and using a sharp pair of embroidered scissors, carefully cut down the center of the fabric between the two rows of stitching. (Make sure that you do NOT cut through the lace!) Fold back the fabric and press down flat before stitching across the ends again from front to rear. Finally, trim off any remaining excess fabric from behind.
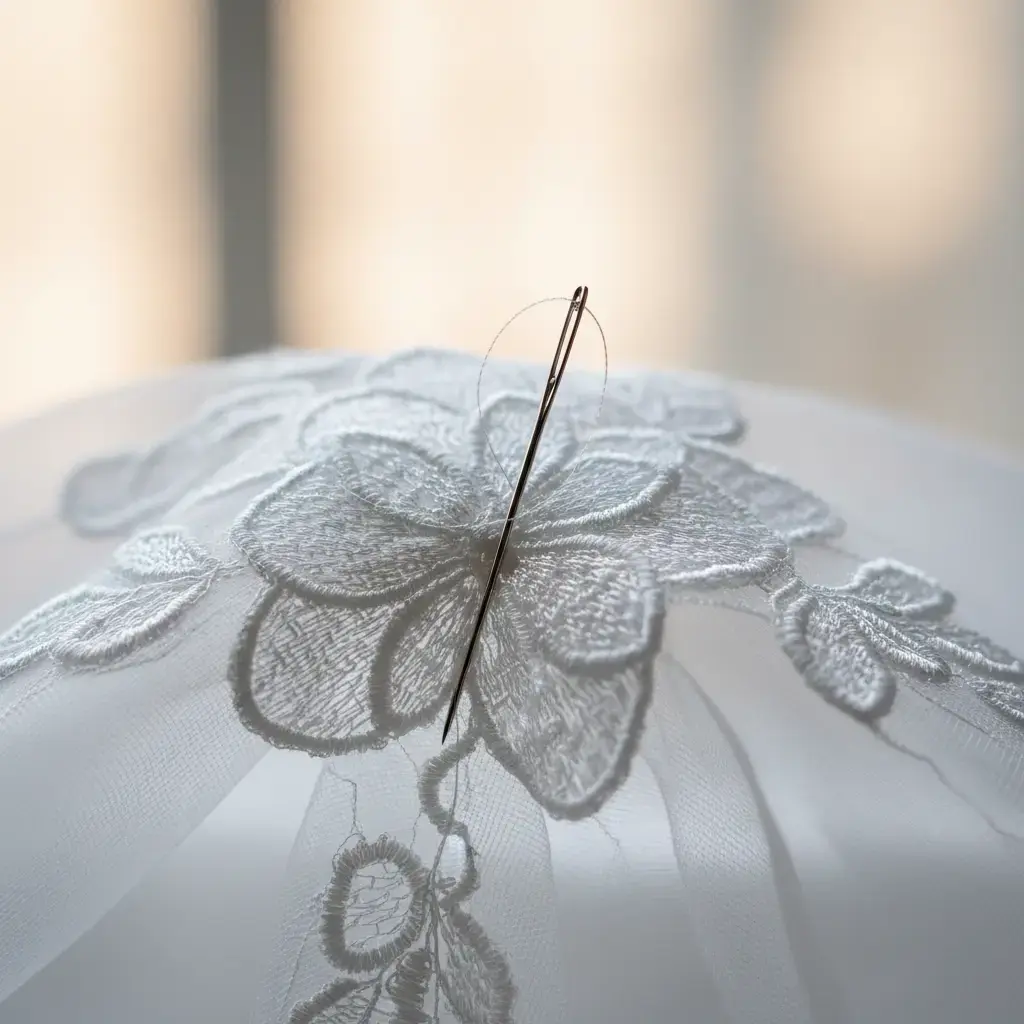
Technique 3: Crafting Lace Appliqués
The appliqué gives you the most creative freedom and allows you to create designs by “building” with lace motifs and placing them whatever and wherever you want to on the lace.
Here’s how:
Firstly, cut the lace motifs out of a larger piece of lace. As you do this, make sure that you don’t cut the lace motifs right up against the design, but instead leave about 3mm of mesh from the edge of the motif to the edge of the lace. After cutting out the individual lace motifs, temporarily place them onto the base fabric using a temporary spray adhesive.
Hand Vs Machine Sewing
Hand Sewing (The Couture Way) – Use a tiny whipstitch to attach just the very edge of the lace motif. This sewing method takes a lot of time but the stitches are almost invisible.
Machine Sewing (The Efficient Way) – Lower the feed dogs of your sewing machine and/or use a darning foot (free-motion foot). This will enable you to “draw” with the sewing needle along the delicate lace flower shape.
Completed sewing will give the lace motif a “floating above the skin” look by cutting away the excess base fabric behind the lace motif to create the appearance of the lace being free floating.
Advanced Ways to Avoid Common Mistakes
How to Join Two Pieces of Lace?
When you come to the end of your lace trim, stitch it together by overlapping the two motifs slightly and following the lines of the pattern so there will be no visible join.
How to Adjust Thread Tension When Sewing with Lightweight (Lace) Fabrics?
If the fabric is gathering while sewing due to the upper thread tension of your machine, lower the upper thread tension.
How to Use Monopolament (Invisible) Thread to Hold Together Parts of Garment for Maximum Support?
Use monopolament sparingly unless you want to irritate the skin or damage your garment when using high temperatures. Use polyester thread to match the color of your lace to minimize complications sewing together lace with multiple colors or patterns.
To sum up, sewing lace requires patience over speed. It may take double the time to sew than what is typically required to sew a normal seam; however, once you experience the beauty of the lace sewn into your fabric, all the extra time spent will have paid off. So don’t rush out to purchase expensive silk or lace! Get some scrap material for your practice!