How to Sew Lace Trim onto Fabric: Step-by-Step Guide
Adding lace trim to fabric is one of the easiest ways to transform a plain garment into something special. Whether you’re embellishing a dress hem, adding detail to sleeve edges, or finishing a neckline, learning to sew lace trim properly makes all the difference.
In this guide, I’ll show you the most practical methods for attaching lace trim to fabric—including hand sewing and machine techniques that actually work.
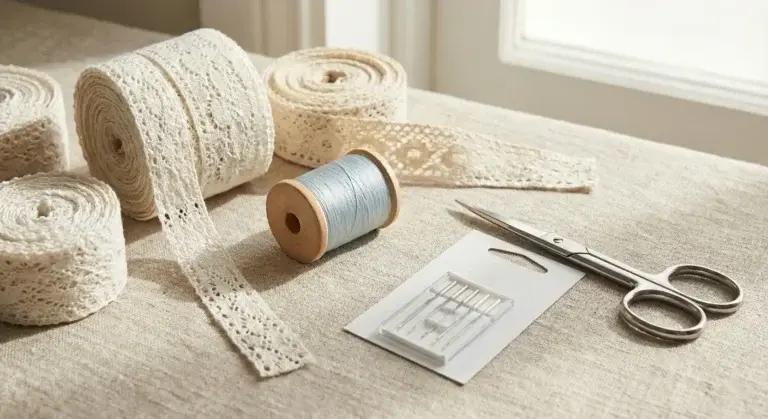
What You’ll Need
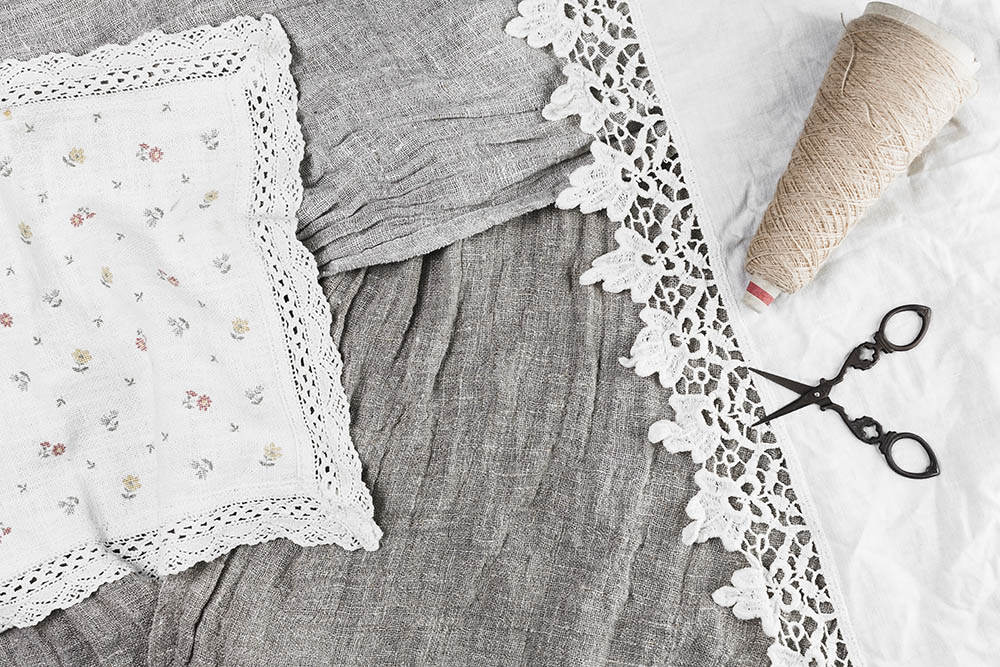
Lace trim in your desired width and style. Thread that matches your lace color. Sewing machine with zigzag capability (or hand sewing needle). Fabric scissors. Pins. Iron and pressing cloth.
Tip: Choose lace trim that’s proportionate to your fabric weight. Heavy lace on lightweight fabric will droop over time, while delicate lace on thick fabric won’t show properly.
Prepare Your Materials
Step 1: Wash Both Fabrics
Always pre-wash your fabric and lace trim before sewing. They may shrink at different rates, and you don’t want puckering after the first wash. Cotton lace, in particular, can shrink considerably.
Step 2: Press Everything Flat
Iron both your fabric and lace to remove any wrinkles. For delicate lace, use a pressing cloth and press from the wrong side to avoid flattening the texture.
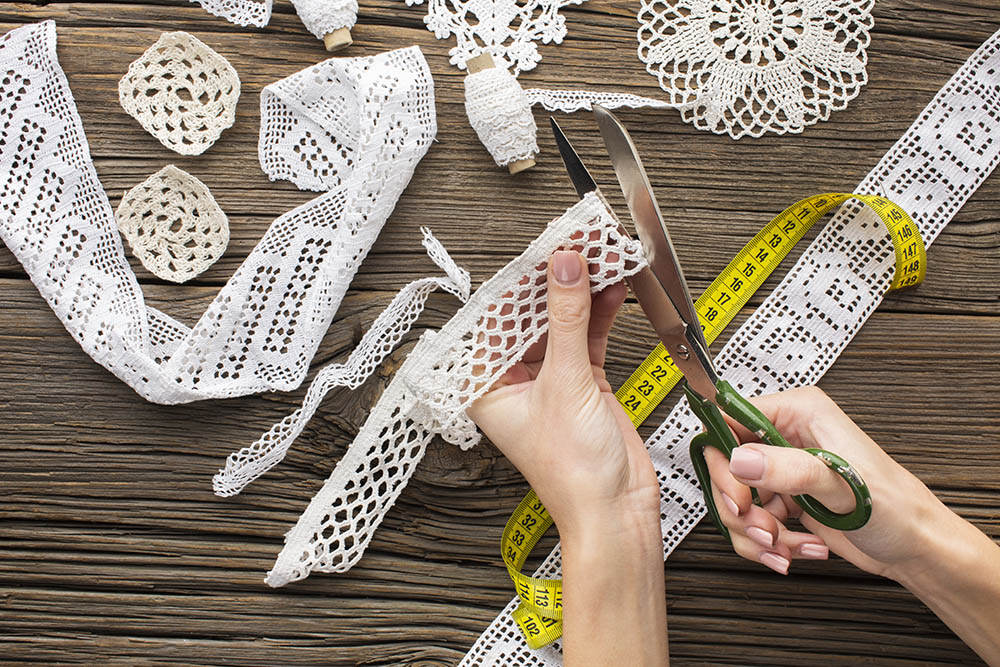
Step 3: Finish the Fabric Edge
If you’re adding lace to a raw edge, finish it first. You can serge, zigzag, or turn under and stitch a narrow hem (about 1/4 inch). This prevents fraying and gives you a clean base to work with.
Method 1: Basic Edge Application (Machine Sewing)
This is the quickest method and works great for straight edges like hem lines, cuffs, and sleeve edges.
Step 1: Position the Lace
Place your fabric right side up. Position the lace trim right side down, about 1/2 inch from the finished edge. Pin in place, making sure the lace lies flat without puckering.
Step 2: Sew with a Straight Stitch
Using a straight stitch, sew along the straight edge of the lace. Keep your seam allowance consistent—about 1/4 to 3/8 inch from the lace edge.
Step 3: Fold and Topstitch
Fold the fabric edge over the stitching line to the wrong side, encasing the raw edge. Press flat. From the right side, topstitch close to the edge. Your lace will now extend beautifully beyond the fabric edge.
Method 2: Zigzag Application (For Curves)
This method works perfectly for necklines, armholes, and any curved edges.
Step 1: Finish the Edge First
Complete the hem or edge finish on your garment before adding lace. This gives you a clean foundation to work on.
Step 2: Pin Lace on Top
Place the lace trim on the right side of your fabric, positioned where you want it to sit. For curves, you may need to ease the lace by making tiny tucks on the inner edge. Pin generously.
Step 3: Zigzag Stitch
Set your machine to a narrow zigzag (width 2mm, length 1.5-2mm). Sew along the lace edge, allowing the zigzag to catch both the lace and fabric. Go slowly, especially around curves.
Important: Reduce your presser foot pressure if possible. This prevents the lace from stretching or distorting under the presser foot.
Method 3: Hand-Sewn Lace (For Delicate Work)
Hand sewing gives you the most control and creates an almost invisible finish—perfect for special garments.
Step 1: Use Fine Needle and Thread
Choose a size 10 or 11 needle and thread that exactly matches your lace. Position and pin the lace as described in Method 1.
Step 2: Slip Stitch the Edge
Working from the wrong side, take tiny slip stitches (2-3mm apart) through the edge of the lace. Try to stitch through the net background of the lace, not through solid motifs. This keeps your stitches invisible.
Step 3: Secure and Finish
When you reach the end, knot your thread on the wrong side. Give everything a final press from the wrong side.

Handling Corners and Curves
For Corners: Don’t force lace around a sharp corner. Instead, fold the lace at a 45-degree angle to create a mitered corner. Pin, stitch down, then trim excess underneath.
For Curves: Ease the inner edge by making small tucks or gathers. The outer decorative edge will lay flat while the inner edge adjusts to the curve. For tight curves, clip the inner edge every 5-10mm.
Common Mistakes to Avoid
Skipping the pre-wash. This leads to puckering after the first launder. Using thread that doesn’t match. Your stitches will be visible and distracting. Sewing too fast. Lace is delicate and needs a gentle, slow pace. Not pinning enough. Lace shifts easily—use more pins than you think you need. Pressing directly on lace. Always use a pressing cloth to protect the texture.
Quick Alternative: Fabric Glue
For temporary or non-wash items, you can use washable fabric glue. Apply a thin line along the back edge of the lace, press in place, and let dry completely. This won’t survive multiple washes but works for quick projects or special occasion wear.
Final Tips
Always test your technique on scrap fabric first. If using vintage or antique lace, consider stabilizing it with a layer of tulle underneath. For stretch fabrics, use stretch lace and a ballpoint needle. Buy extra lace—corners and curves use more than you expect.
With these methods, you can confidently add lace trim to any project. The key is taking your time, preparing properly, and choosing the right technique for your fabric type. Whether you’re embellishing everyday clothing or creating something special, lace trim adds that perfect finishing touch.