How to Sew Lace Trim: Truly Useful Hands-on Skills
Lace is not just for grandma’s doilies or vintage bridal gowns anymore! The “Laced Up” trend of 2026 combines delicate textures with things like big hoodies and denim. If you want to be a professional seamstress instead of just a hobbyist, you need to know how to properly finish your lace trim, whether you’re taking a second hand garment and upcycling it or finishing a couture piece.
Lace isn’t all about sewing, it’s also about using your brain!
Preparation
Before sewing, prepare by washing your fabric and lace, as lace shrinks differently.
Pre-Wash Everything: Lace and fabric should both be washed beforehand. If your lace shrinks when pre-washed but the fabric does not, this will cause your hem to be puckered.
Use the Right Tool: Use a Microtex 70/10 needle instead of a universal needle because the Microtex 70/10 needle has a small, sharp point that will not pull threads from the fine mesh of lace.
Pro Tip: Use a water soluble stabilizer underneath the lace when sewing to support the delicate fibers and reduce risk of “eating”.
Choosing Your Technique
Not all lace is created equal. Use the table below to determine which method fits your project:
| Lace Type | Best Use Case | Recommended Stitch |
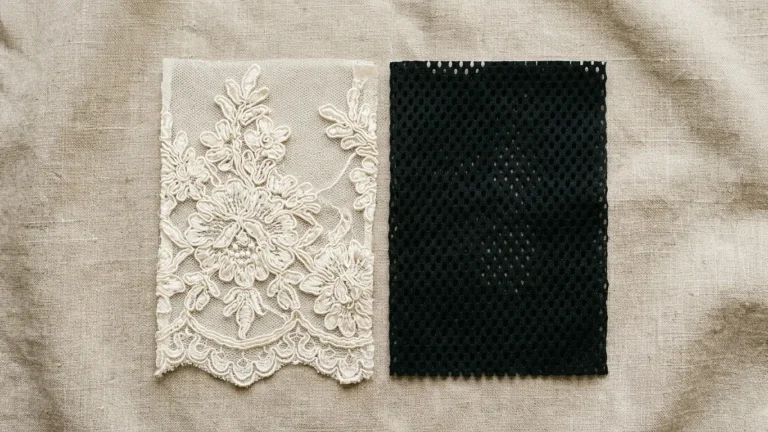
| Flat Lace | Hemming skirts, cuffs | Straight stitch or narrow zigzag |
| Stretch Lace | Lingerie, activewear | Wide zigzag or overlock |
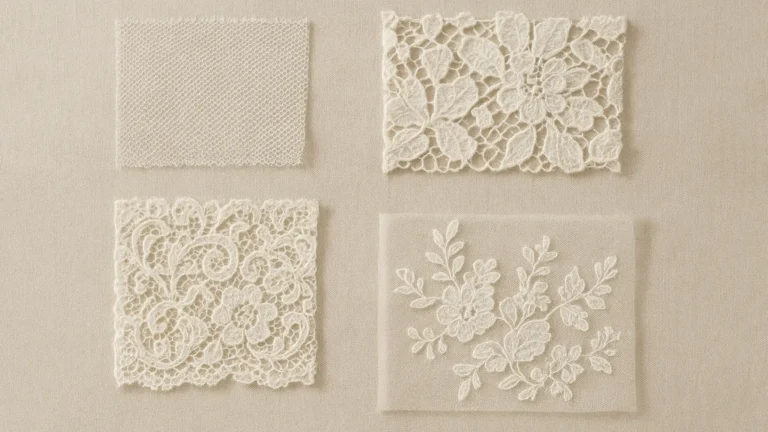
| Insertion Lace | Decorative panels (mid-fabric) | Straight stitch + trimming back |
| Venise Lace | Heavy appliqués, collars | Hand-sewn or satin stitch |
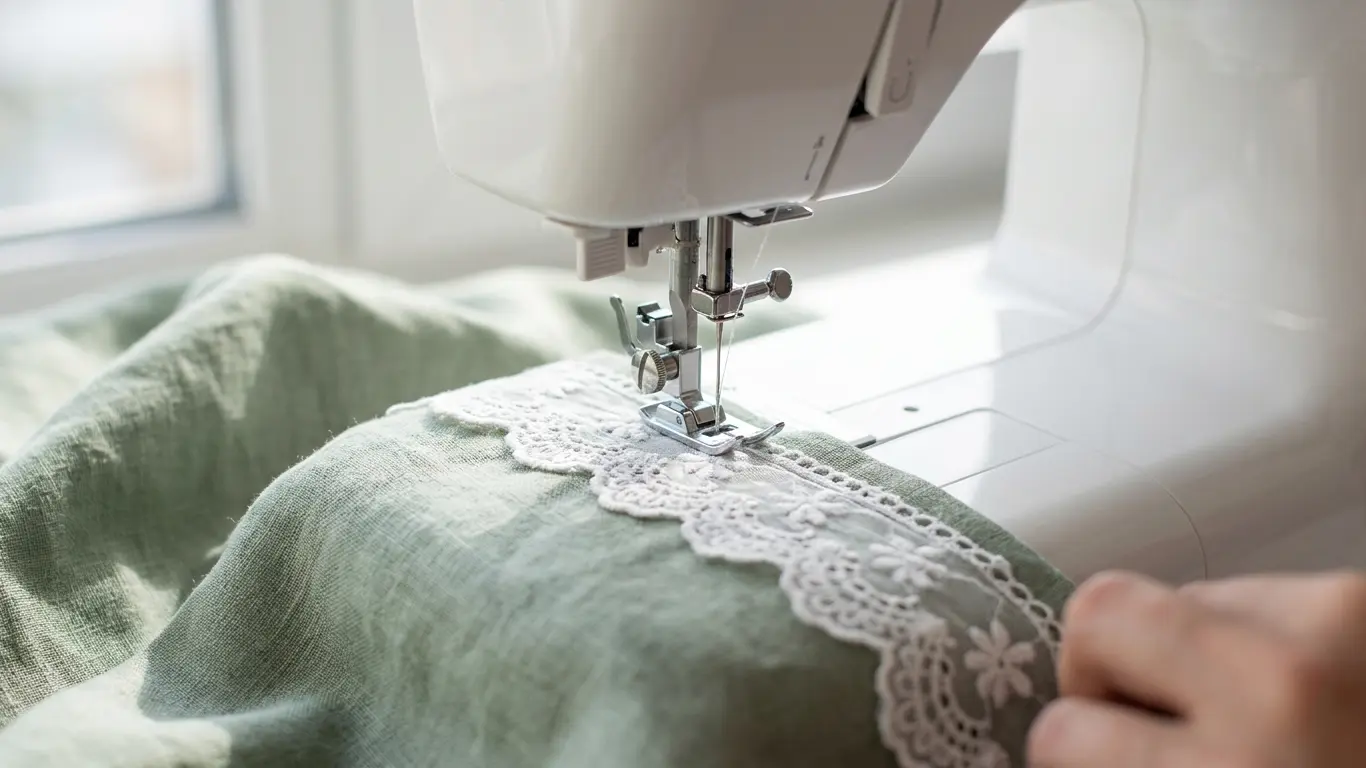
Step-by-Step: The Perfect Edge
Achieve the clean high-end runway look of 2026 with these recommendations:
Precision Pinning: For delicate lace, use fine silk pins. When the lace is very delicate, tack the lace in place with a sewing-safe glue stick before sewing it in place.
Thread that Matches: Always match the colour of your thread to the colour of your lace, not the fabric below it, to make the stitches almost invisible.
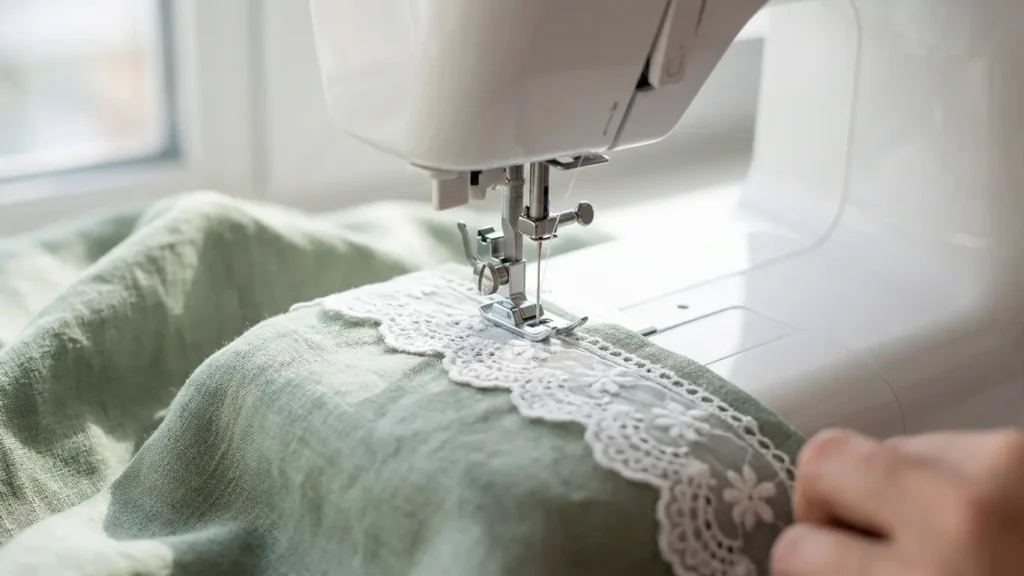
The Anchor Stitch: When beginning to sew, start a few millimetres inside the edge of the lace so that the machine may not pull the lace into the feed dogs.
Example of Curve: When sewing around a curve, “ease” the lace slightly by pushing it towards the needle so that the lace remains relatively flat during sewing.
Mastering the 90-Degree Mitered Corner
The biggest challenge with lace trim is making it turn a corner without looking bulky. The “Mitered Corner” is the gold standard:
- Fold: Fold the lace back on itself at the corner to create a 45-degree angle.
- Press: Use a low-heat iron (with a press cloth!) to set the crease.
- Stitch: Sew exactly along that 45-degree diagonal.
- Trim: Cut away the excess lace and use a tiny dab of fray-check or a satin stitch to secure the edge.
FAQ
What should I do if my lace trim is wrinkling?
You need to lower your top thread tension. The machine is pulling too forcefully on the soft lace.
Why does lace “stretch” when sewn?
In all likelihood, you are pulling on the lace. Let the feed dogs do their job; at that time, there is no need to pull—use a walking foot.
How do I finish the ends?
Do not simply cut them. You need to overlap the ends by 1 centimetre and sew and join with a tight zigzag (satin stitch) to copy the design of the lace.
Final thoughts
You need to take your time when sewing lace. You should work slowly, use the correct needle and do not be afraid to use stabilizer.